🔅 리액트 설치
npx create-react-app my-app
💻 구현할 화면
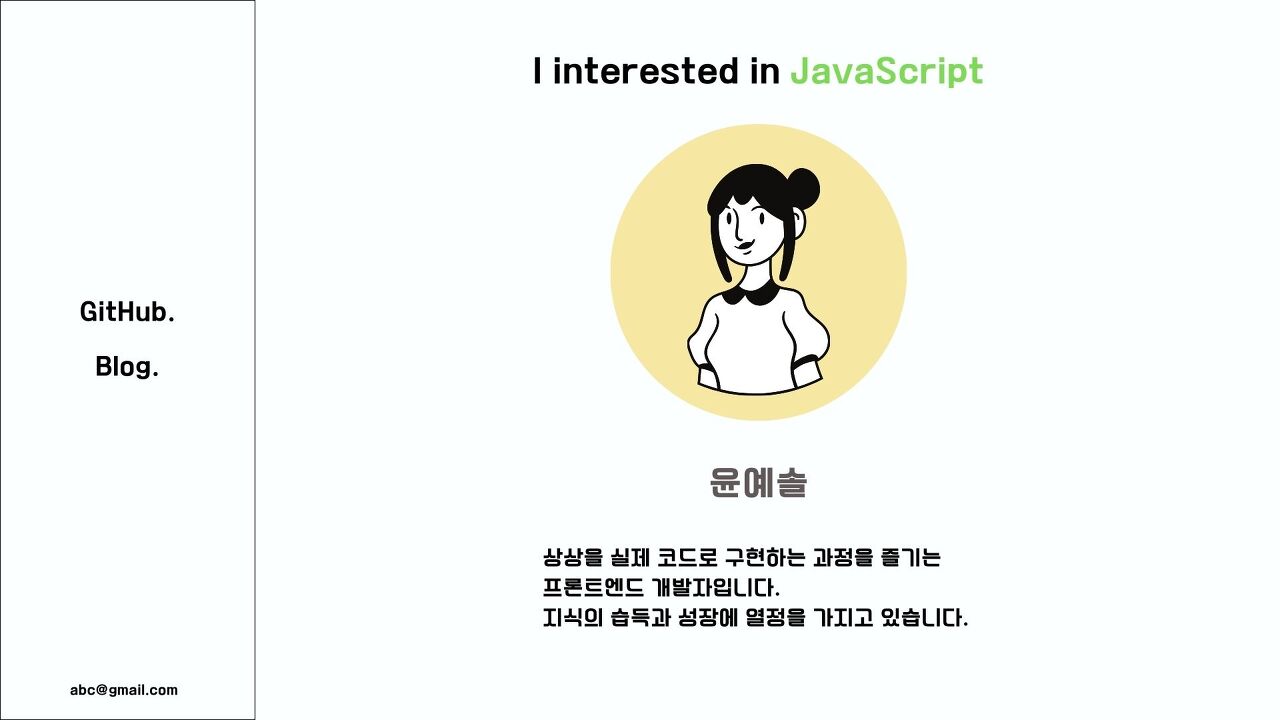
왼쪽의 메뉴바와 중앙의 카드는 모든 페이지에서 사용될 예정이기 때문에 공용 컴포넌트로 만들어 둔다.
🛴 공용 컴포넌트 생성
Card.js
import "./Card.css";
const Card = (props) => {
  return <div className="card">{props.children}</div>;
};

export default Card;
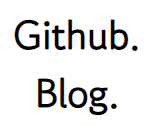
SideMenu.js
import "./SideMenu.css";

const SideMenu = () => {
  return (
    <div className="side-bar">
      <ul>
        <li>
          <a href="#">Github.</a>
        </li>
        <li>
          <a href="#">Blog.</a>
        </li>
      </ul>
    </div>
  );
};

export default SideMenu;
🧶 Google Fonts
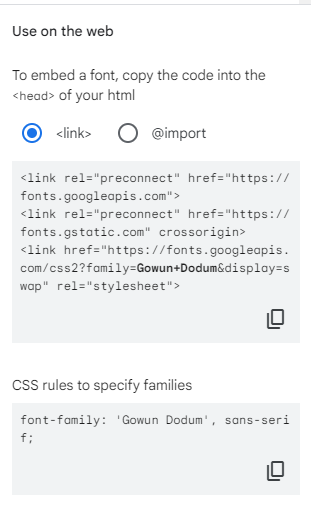
index.html에 링크 포함
<!DOCTYPE html>
<html lang="ko">
  <head>
    <meta charset="utf-8" />
    ...
    <link rel="preconnect" href="https://fonts.googleapis.com" />
    <link rel="preconnect" href="https://fonts.gstatic.com" crossorigin />
    <link
      href="https://fonts.googleapis.com/css2?family=Gowun+Dodum&display=swap"
      rel="stylesheet"
    />
    <title>React App</title>
  </head>
  <body>
    ...
  </body>
</html>
사용하고자 하는 곳에서 font-family 지정해주면 폰트가 적용된다.
App.css
body {
  font-family: "Gowun Dodum", sans-serif;
}
이제 Home 컴포넌트를 생성한 후 App.js에 SideMenu와 Home 컴포넌트를 배치한다.
Home.js
import Card from "../components/Card";

import "./Home.css";

const Home = () => {
  return (
    <div className="home">
      <h2>I interested in JAVASCRIPT</h2>
      <Card>
        <img src={process.env.PUBLIC_URL + "assets/images/snoopy.jpg"} />
      </Card>
      <h3>윤예솔</h3>
      <div>
        <p>상상을 실제 코드로 구현하는 과정을 즐깁니다.</p>
        <p>지식의 습득과 성장에 열정을 가지고 있습니다.</p>
      </div>
    </div>
  );
};

export default Home;
App.js
import Home from "./pages/Home";

import "./App.css";
import SideMenu from "./components/SideMenu";

function App() {
  return (
    <div className="App">
      <SideMenu />
      <Home />
    </div>
  );
}

export default App;
💥 디자인 변경
초기화면 사이드메뉴를 제거하고, 깃허브와 블로그 주소는 개별적인 컴포넌트를 만들어 포함시키기로 했다.
💫 하단 움직이는 버튼 추가 (CSS)

@keyframes moving-arrow {
  from {
    margin-top: 0px;
  }
  to {
    margin-top: 15px;
  }
}

.detail-btn {
  padding: 5px 18px 10px 18px;
  box-shadow: 0 2px 8px rgba(0, 0, 0, 0.26);

  font-size: 30px;

  border-radius: 50%;
  border: none;

  cursor: pointer;

  animation-name: moving-arrow; /*애니메이션 이름 지정*/
  animation-duration: 0.8s; /*한 번 재생하는 데 걸리는 시간*/
  animation-iteration-count: infinite; /*반복횟수*/
  animation-direction: alternate; /*애니메이션 재생 방향(왔다갔다하도록)*/
}
🛬 상단 글자와 색상 변경 + Fade in 애니메이션
Home.js
...

const lang_arr = ["JAVASCRIPT", "HTML", "CSS", "REACT"];

const Home = () => {
  const [lang, setLang] = useState(lang_arr[0]);

  useEffect(() => {
    let lang_num = 0;
    const timer = setInterval(() => {
      lang_num + 1 > 3 ? (lang_num = 0) : lang_num++;
      setLang(lang_arr[lang_num]);
    }, 2000);
    return () => clearInterval(timer);
  }, []);

  return (
    <div className="home">
      <h2>
        I interested in <p className={`lang ${lang}`}>{lang}</p>
      </h2>
      ...
  );
};

export default Home;useEffect를 통해 mount 시에 setInterval 함수를 실행하여 lang의 state를 변경시켰다.
글자는 2초마다 변경되고, 매번 lang_num을 1씩 증가시켜 배열 안의 요소들을 순서대로 가리키게 하였다.
Home.css
@keyframes fadein {
  from {
    opacity: 0;
  }
  to {
    opacity: 1;
  }
}

.lang {
  margin: 0;
  animation: fadein 2s;
  animation-iteration-count: infinite;
}

.lang.JAVASCRIPT {
  background: linear-gradient(#f7d238, #e4a425);
}
.lang.HTML {
  background: linear-gradient(#e99d80, #e65026);
}
.lang.CSS {
  background: linear-gradient(#2eaadb, #0673b0);
}
.lang.REACT {
  background: linear-gradient(#56bad2, rgb(44, 44, 44));
}

.lang.JAVASCRIPT,
.lang.HTML,
.lang.CSS,
.lang.REACT {
  color: transparent;
  -webkit-background-clip: text; /* background 를 어디까지 적용시키는지 */

  animation: fadein 2s;
  animation-iteration-count: infinite;
}

.description {
  font-size: 25px;
}

.description > p {
  margin-bottom: 0;
}
글자 그라데이션
background: linear-gradient(#f7d238, #e4a425);
color: transparent;
-webkit-background-clip: text; /* background 를 어디까지 적용시키는지 */
Fade-in 애니메이션
@keyframes fadein {
  from {
    opacity: 0;
  }
  to {
    opacity: 1;
  }
}

.lang.JAVASCRIPT,
.lang.HTML,
.lang.CSS,
.lang.REACT {
  animation: fadein 2s;
  animation-iteration-count: infinite;
}
⛰Mount 시 프로필 이미지 애니메이션

@keyframes card-animation {
  from {
    transform: scale(0.8);
    opacity: 0.5;
  }
  to {
    transform: scale(1);
    opacity: 1;
  }
}

.home-card {
  border-radius: 50%;
  padding: 0;
  margin: 0;

  animation: card-animation 2s;
  animation-iteration-count: 1;
}
🚩 최종
애니메이션 참고
CSS 애니메이션(Animation), 키프레임(keyframes)
CSS3 애니메이션은 요소에 적용되는 CSS 스타일을 다른 CSS 스타일로 부드럽게 전환시켜 줍니다. 애니메이션은 애니메이션을 나타내는 CSS 스타일과 애니메이션의 중간 상태를 나타내는 키프레임
webclub.tistory.com
animation-duration 속성은 애니메이션 움직임 시간을 설정합니다.
Reference/CSS animation-duration 속성은 애니메이션 움직임 시간을 설정합니다. by @webs 2022. 7. 4. animation-duration animation-duration 속성은 애니메이션 움직임 시간을 설정합니다. 애니메이션은 움직임 시간,
webstoryboy.co.kr


